
You are here: Start » Web HMI » Handling WebHMI Events
Handling WebHMI Events
Introduction
The WebHMI mechanism in Aurora Vision Studio operates on a loop basis, that is, at the beginning of each iteration, all the inputs from the WebHMI are read by the filters and macrofilters that are connected to those inputs. However, the results coming from those filters and macrofilters will not in turn be output to the WebHMI until after the given iteration has been fully executed. The WebHMI's workflow is thus analogous to that of the basic HMI (consult this entry).
It is very convenient to use in typical machine vision applications focused on fast image acquisition loops and where the WebHMI is mainly used for setting parameters and observing inspection results. In many applications, however, it is not only required to use parameters set by the end user, but also to handle events such as button clicks.
To perform certain actions immediately after an event is raised, Aurora Vision Studio also comes with a WebHMI subsystem that handles events independently of the program execution process. This allows to create user interfaces that respond almost in real-time to user input, e.g., clicking a button, moving the mouse cursor over an object or changing an associated value. None of these actions would be possible were events handled solely within the workflow dictated by the program execution process.
Event Handlers
An event handler is a subprogram in Aurora Vision Studio that determines behaviors to be implemented when an associated event occurs. It is in fact simply a macrofilter that is executed once for each received event. If there are several WebHMI controls which should trigger the same procedure, one event-handling macrofilter can be used for all of them.
Creating Event Handlers
To create an event handler:
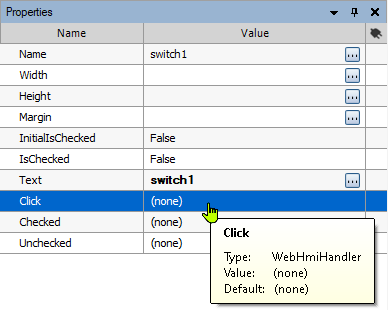
- Left-click the WebHMI control that will be the source of an event and look up its properties. To find which controls have defined events, refer to the Standard WebHMI Controls entry.
-
In the properties, you will find WebHmiHandlers:
-
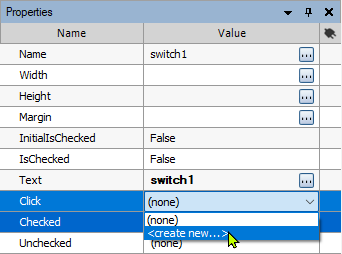
Click the drop-down list next to the event name and select <create new...>, as shown below:
-
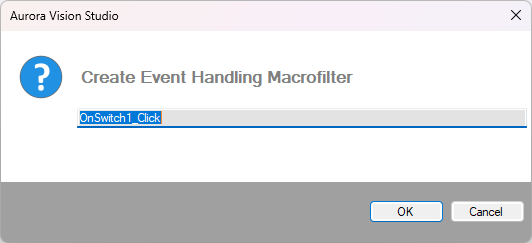
Define the name of the event handler in the pop-up window:
-
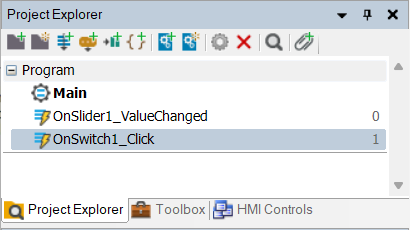
Once the event handler has been created, it becomes available in the Project Explorer:
Queuing Event Handlers
To create applications that handle events efficiently, it is important to understand the mechanism of event-handling macrofilter execution. Especially the way how the aforementioned WebHMI subsystem queues them when several events come at short intervals.
When a WebHMI control sends an event to signal the occurrence of an action, the WebHMI subsystem retrieves the event and stores it in a FIFO queue. This queue is then processed in a separate thread dedicated to handling WebHMI events.
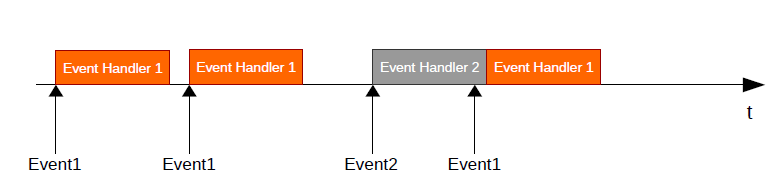
Sample events sequence and timeline showing the order in which they are handled
This has important implications:- Event handlers should not contain any time-consuming algorithms that could delay the execution of subsequent events.
- Events are always handled one by one. Therefore it is essential to make event-handling procedures as short as possible.
- All event handlers are executed in parallel to the main program loop, but no two event handlers are executed at the same time.
- If you use thread limit-consuming data analysis filters in event handlers, they will be considered additional thread limit-consuming data analysis threads and may thus report exceeding the license restrictions.
| Previous: Standard WebHMI Controls | Next: Programming Reference |