
You are here: Start » User Interface » Working with 3D data
Working with 3D data
Introduction
This article summarizes how to work with 3D data previews. Adaptive Vision Studio allows you to work not only with images or conventional data types, but also with point clouds of following types:
Please note that the term surface may be used in this article to denote a point cloud of Surface type.Toolbar
The toolbar appears the moment a point cloud is previewed:
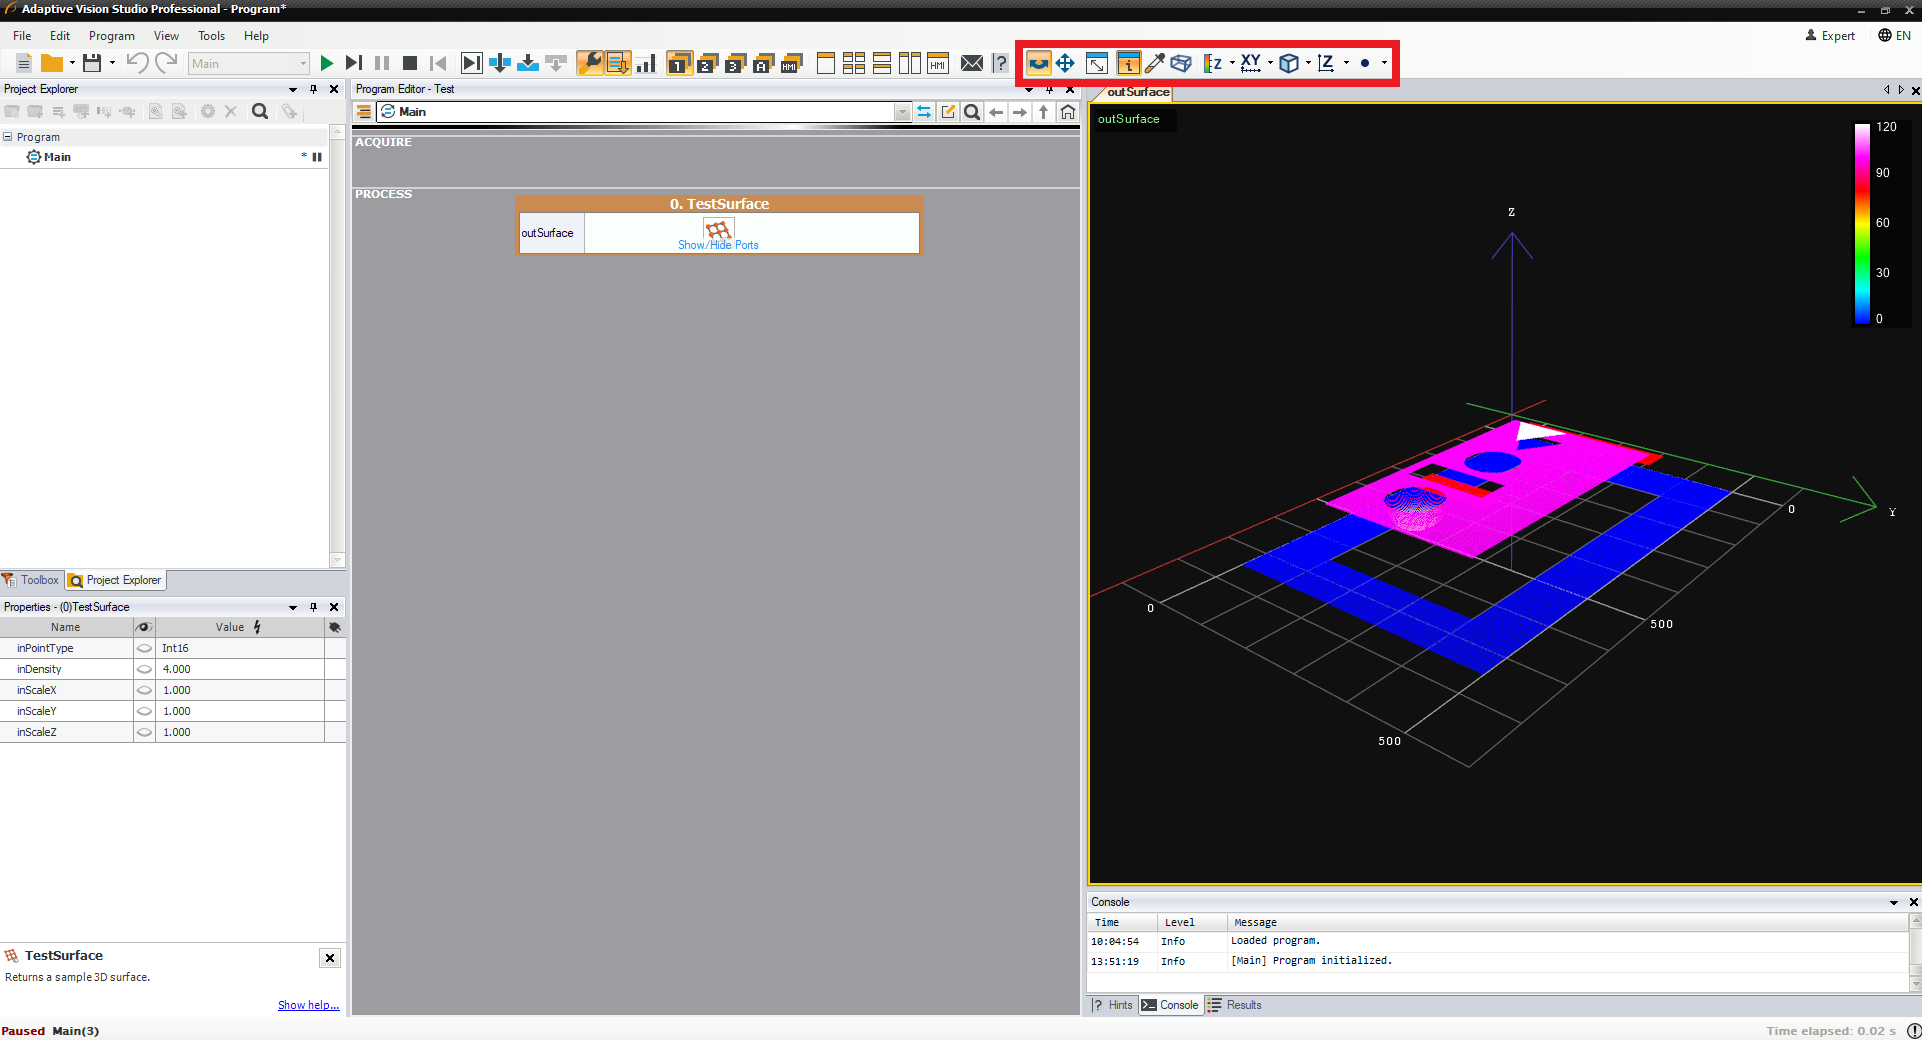
The location of 3D tools in Adaptive Vision Studio.

3D tools available in the toolbar.
| Button (Tool) | Description of the tool |
|---|---|
| Rotate | This button permits to rotate a point cloud around the rotation center point. |
| Pan | This button permits to move the rotation center point. |
| Resetting view | This button permits to revert changes made by rotating or panning a point cloud. |
| Probe Point Coordinates | This button permits to obtain information about coordinates of a point. |
| Bounding Boxes | This button permits to display the bounding box of a point cloud. |
| Coloring Mode |
This button permits to switch between different coloring modes which are divided into 4 categories:
|
| Grid Mode |
This button permits to display a grid plane to your liking. There are also 4 modes available:
|
| View Projection Mode |
This button permits to display a point cloud in 4 different modes:
|
| World Orientation |
This button permits to display a coordinate system in 4 different modes:
|
| Point size |
This button permits to control the size of a single point within a point cloud. There are 5 possible sizes:
|
Using a computer mouse
Adaptive Vision Studio also allows you to control a 3D preview with your computer mouse. You can perform some of the above features to analyze the point cloud without a necessity to find and switch between buttons in the toolbar.

|
If you click Left Mouse Button on a preview, it works as if you used the Rotate button, so you can rotate a point cloud around a fixed center point until the button is released. |

|
If you click Right Mouse Button on a point cloud, a dropdown list with all features described in the previous section appears. |

|
If you use Mouse Wheel on a point cloud, you can zoom it in and out. |

|
If you press Mouse Wheel on a point cloud, you can move the rotation center point of the coordinate system (works like the "Pan" button). |
Preview
When you drag and drop the output, which is of 3D data type, and you have already previewed some images, string or real values, please note that it can be only previewed in a separate view. It is not possible to display an image and a point cloud in the very same view.
While analyzing 3D data, please pay attention to the colors' scale bar in the top right corner of the preview:
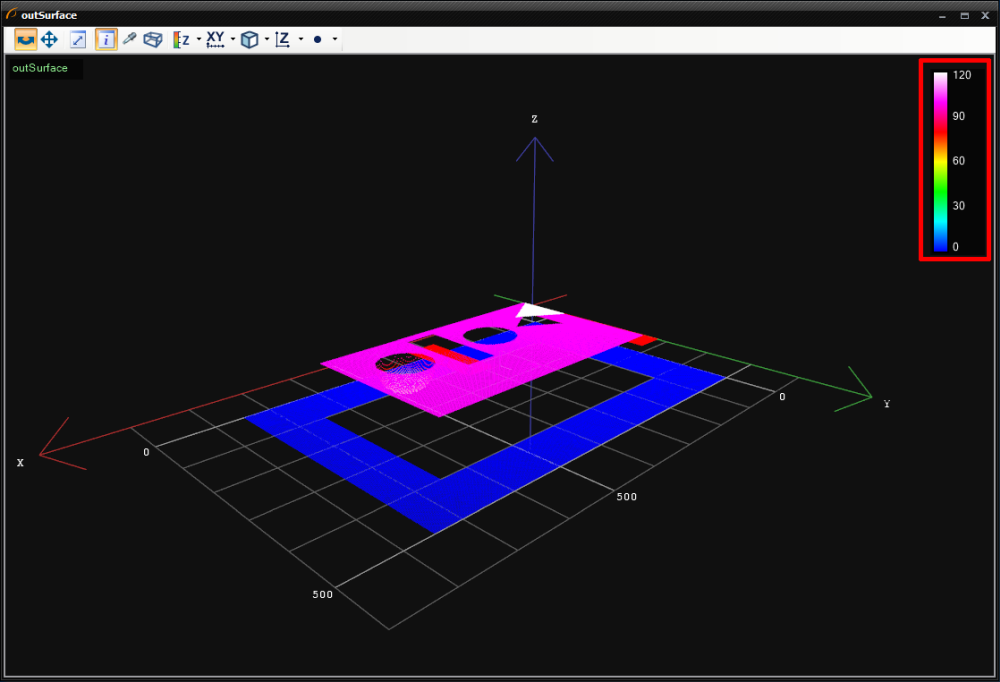
Colors' scale bar.
It might be helpful if you want to estimate the coordinate value based on color.
You can also hide or remove surfaces from a view. To do it, you have to right-click on the information about a preview in the top left corner of the view:
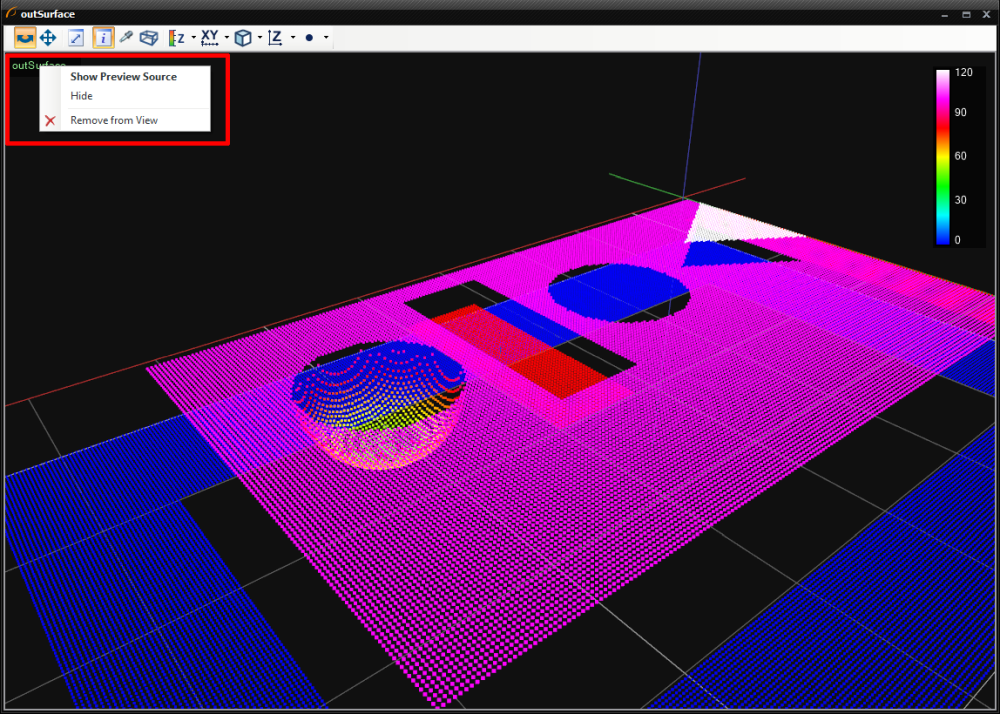
Dropdown list with possible actions on previews.
As it is shown in the above image, you can:- Show Preview Source - it will indicate the filter in the Program Editor, of which the output has been previewed
- Hide - it will hide only indicated surface without removing the preview
- Remove from View - it will delete the preview, leaving an empty view
HMI
3D data can be displayed in the HMI as well - using the View3DBox control:
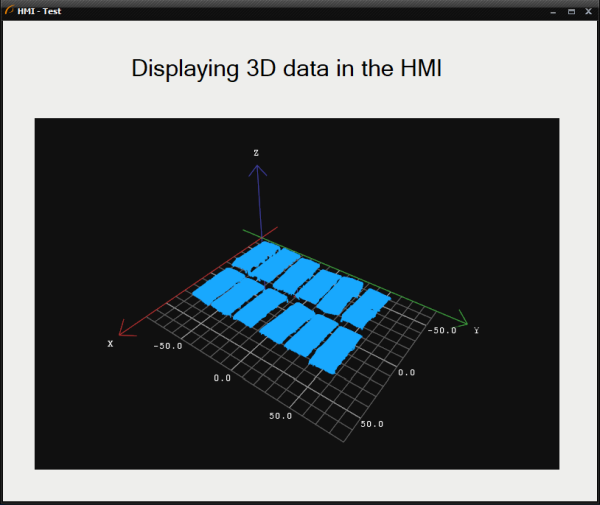
View3DBox HMI control - a point cloud is displayed in the same manner as in the preview.
It is worth mentioning that in this HMI control you can also rotate and change the rotation center of the point cloud. For more details about designing and using HMI, please refer to HMI Controls.| Previous: Keyboard Shortcuts | Next: Creating Deep Learning Model |