
You are here: Start » Technical Issues » Working with Gen TL devices
Working with Gen TL devices
Introduction
Adaptive Vision Studio allows to communicate with devices which use Gen TL. For this purpose, you need to install the software provided by device vendor in your operating system (this step is highly dependant on device vendor so please refer to the device documentation, there is no general recipe for it). You can check if the installed software has added Gen TL provider to your system in the following way:
- There is a definition of GENICAM_GENTL32_PATH and/or GENICAM_GENTL64_PATH in the environment variables section.
- Catalogs created by the installed device vendor software should contain some .cti (Common Transport Interface) files.
Please make sure that the platform (32/64-bit) which the vendor software is intended for is the same as the version (32/64-bit) of Adaptive Vision Studio you use.
Using GenICam Device Manager
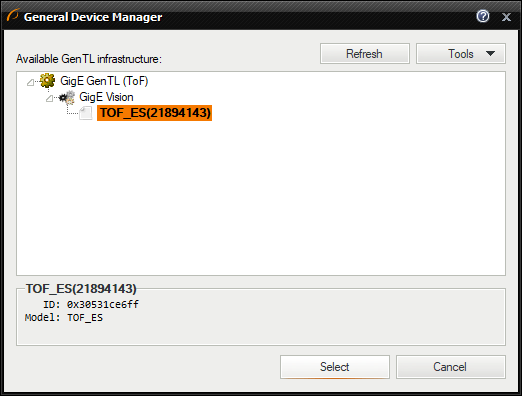
Once you have completed the steps above, you should be able to see your GenICam devices connected to the computer in the GenICam Device Manager (if they are not visible there, the cause is usually that device vendor's .cti files or proper entries in environment variables section are missing), like in the image below:
You can access the GenICam Device Manager in one of the two ways:
- Choose Tools » Manage GenICam Devices... from the Main Menu.
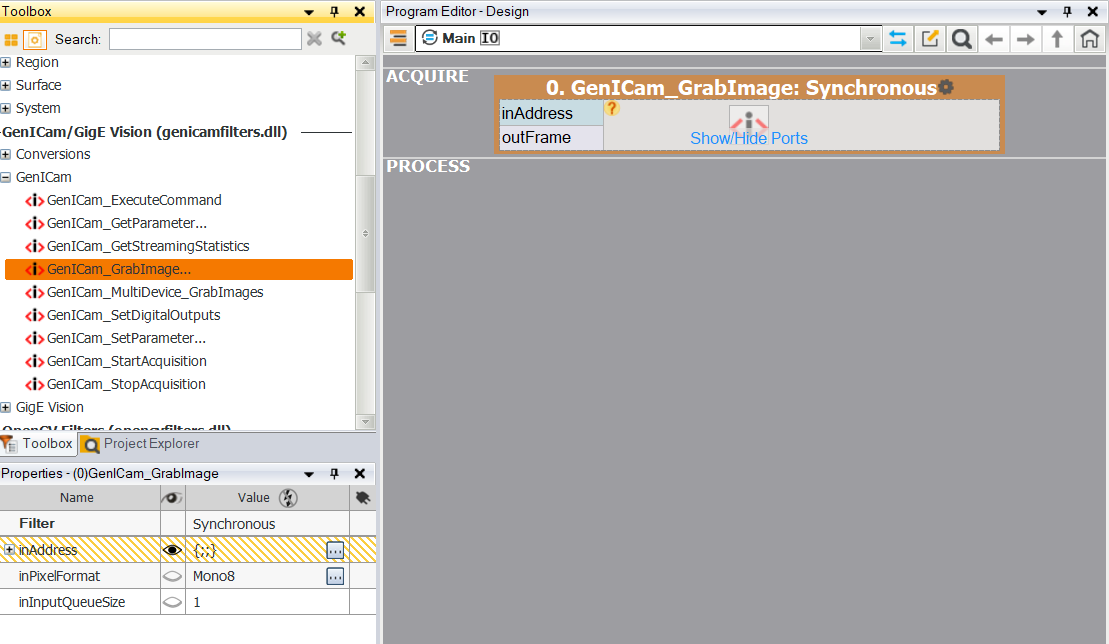
- Add one of GenICam filters to program and open the GenICam Device Manager directly from filter properties.
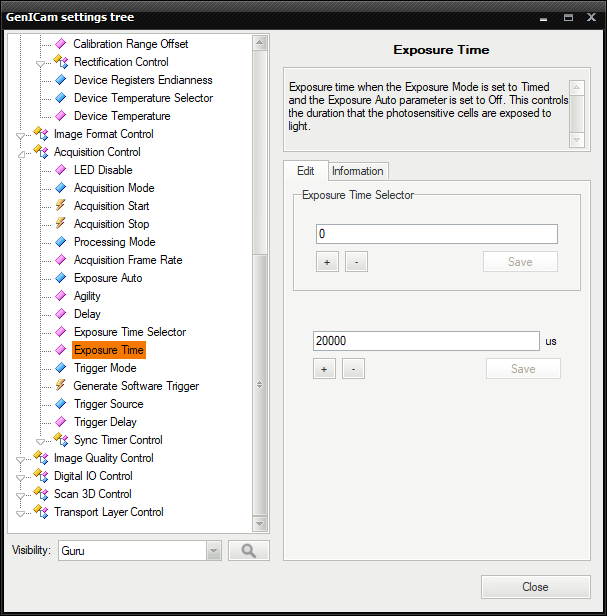
After choosing a device you can go to its settings tree by clicking Tools » Device Settings in the GenICam Device Manager. You should see device parameters grouped by category there. Some parameters are read-only, other are both readable and writable. You can set the writable parameters directly in the GenICam Settings Tree.
Another way to read or write parameters is by using the filters from the GenICam category. In order to do this you should:
- Check of which type is the parameter you'd like to read/write (you can check it in the GenICam Settings Tree).
- Add a proper filter from the GenICam category to the program.
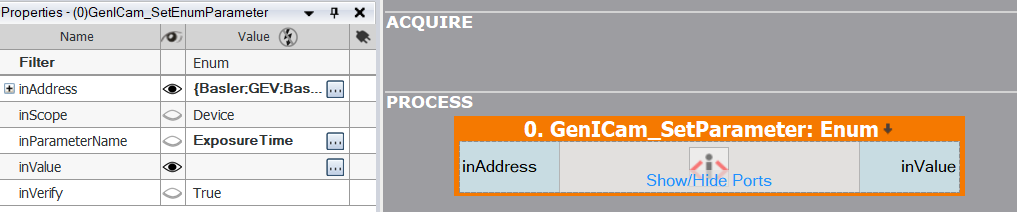
- Choose a device, define parameter name and new value (when you want to set the parameter's value) in the filter properties.
- Execute the filter.
Known Issues Regarding Specific Camera Models
In this section you will find solutions to known issues that we have came across while testing communication between Adaptive Vision products and different camera models through GenICam.
Manta G032C
We have encountered a problem with image acquisition (empty preview window with no image from camera) while testing this camera with default parameters. The reason for this is that the packet size in this camera is set by default to 8,8 kB. You need a network card supporting Jumbo Packets to work with packets of such size (the Jumbo Packets option has to be turned on in such case). If you don't have such network card, you need to change the packet size to 1.5 kB (maximal UDP packet size) in the GenICam Settings Tree for the Manta camera. In order to do this, please open the GenICam Device Manager, choose your camera and then click Tools » Device Settings (go to the GenICam Settings Tree). The parameter which needs to be changed is GevSCPSPPacketSize in the GigE category, please set its value to 1500 and save it. After doing this, you should be able to acquire images from your Manta G032C camera through GenICam.
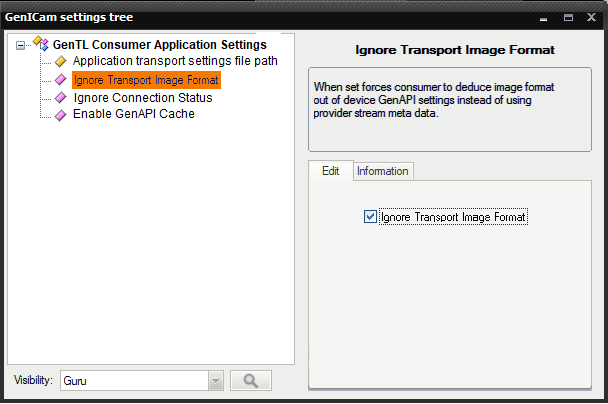
Adlink NEON
On devices with early version of the firmware, there are problems with starting image acquisition. The workaround is simple: just set the IgnoreTransportImageFormat setting to "yes". This option is available in the GenICam Device Manager (Tools → Application Settings...):
Daheng cameras
It is possible to get IO Error: "Unable to open GenTL Provider System Module" after stopping and starting the application again. To solve that problem you should:- Open GentTL settings: Tools » Manage GenICam Devices... » Tools » Application Settings
- Turn on "Keep System Modules Alive" option
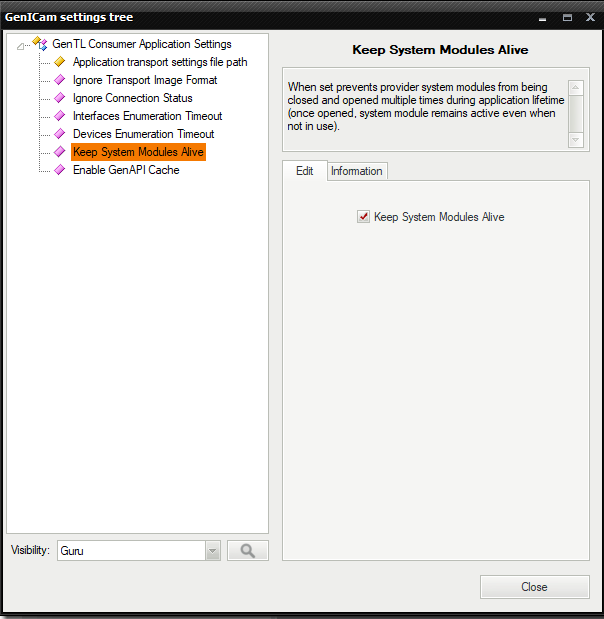
- Close the window and restart Adaptive Vision Studio
| Previous: Known Issues | Next: Working with National Instruments Devices |