You are here: Start » Getting Started » Installation
Installation
Aurora Vision Studio system requirements
Aurora Vision Studio is supported on Windows 10 & 11 64-bit operating system, including embedded editions. It requires .NET 4.8 environment to be installed on your computer (if you happen to encounter any problems with running Aurora Vision Studio on the mentioned systems, it is highly possible that .NET is not installed properly, so please reinstall or repair it then).
The minimal display resolution required to present all the Aurora Vision Studio features (e.g. the Calibration Editor window) is 1280x1024.
To be able to fully take advantage of the integration possibilities provided by Aurora Vision Studio (e.g. creating user filters(tools)) you will also need Microsoft Visual Studio development environment, version 2015 or higher (Express Editions are also supported).
Will Aurora Vision Studio work on my PC?
We intentionally do not indicate the minimum system requirements. Rather than "will it work?", we should ask about "how will it work?" instead. The performance of your application might depend on a lot of factors. The most important among them are:
- Hardware. CPU and GPU benchmarks can be found in under this link. We hope this will help you to evaluate the hardware impact on the performance of your algorithm.
- Complexity of your algorithm (Number of tools)
- Your programming skills (Appropriate choice of the tools and how they are parametrized - especially important when more advanced tools i.e. Template Matching are used)
- Speed requirements of your vision system
- Size of the input data
- Capacity and configuration of the network
Installation Procedure
Important: Aurora Vision Studio setup program requires the user to have administrative privileges.
The installation procedure consists of several straightforward steps:
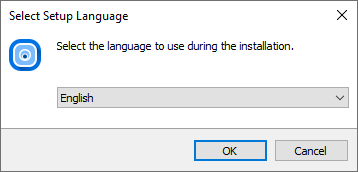
Setup language
Please choose the language for the installation process and click OK to proceed.
License agreement
Click I accept the agreement if you agree with the license agreement and then click Next to continue.

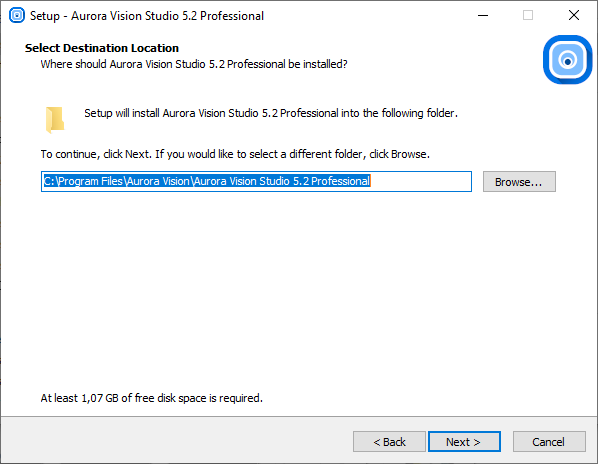
Localization on disk
Choose where Aurora Vision Studio should be installed on your disk.
Components
Choose which additional components you wish to install.

Start Menu shortcut
Choose if Aurora Vision Studio should create a Start Menu shortcut.

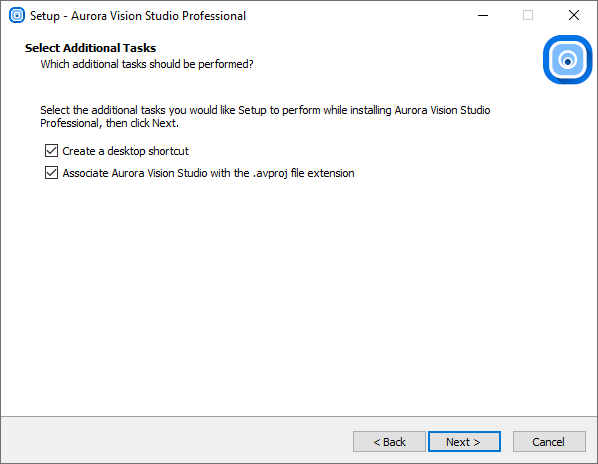
Additional Options
On this screen you can decide if the application should create a Desktop shortcut. You can also decide to associate Aurora Vision Studio with the .avproj files.
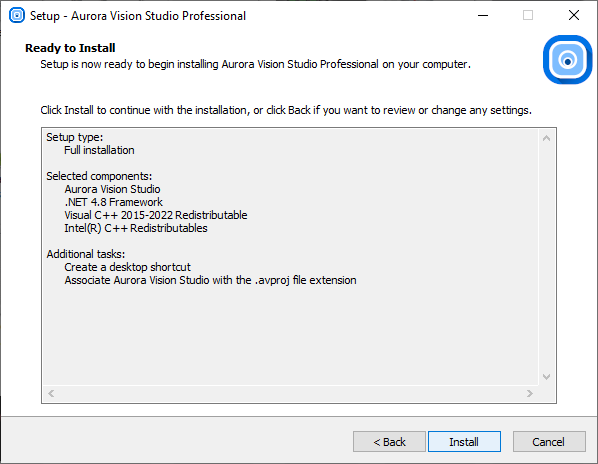
Installing
Click Install to continue with the installation or Back to review or change any settings.
Please wait until all files are copied.

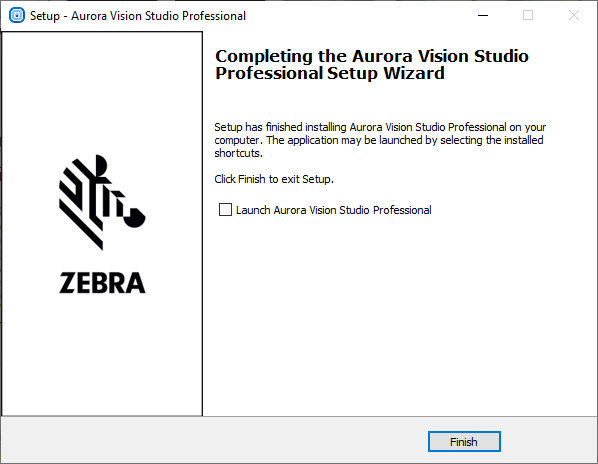
Final Options
At the end of the installation you are able to run the application.
Deinstallation procedure
To remove Aurora Vision Studio from your computer please launch Add or remove programs, select Aurora Vision Studio Professional » Uninstall and follow the on-screen instructions.
Video Tutorial
Please check the the video tutorial on our YouTube channel:| Previous: Getting Started | Next: Main Window Overview |

