You are here: Start » Application Notes » Interfacing Wenglor profile sensor to Aurora Vision Studio
Interfacing Wenglor profile sensor to Aurora Vision Studio
Purpose and requirement
This document explains how to interface a Wenglor profile sensor to Aurora Vision Studio.
Required equipment:
- Wenglor weCat3D Server 2.0.0 or later. You can download it under GigE Vision Interface section (version 2.2.1 used);
- Aurora Vision Studio 5.0 Professional or later (version 5.2 used);
- Wenglor weCat3D sensor (MLSL123 used).
Setting up Wenglor weCat3D sensor
Each sensor is shipped with the default IP address of 192.168.100.1. So before working with the Wenglor you must make sure that the IP address has been set correctly and is unique for each device in the network. You can verify that with the steps described below:
- Connect the Wenglor to the PC running Aurora Vision Studio Professional.
- Power up Wenglor, connect it to the PC via Ethernet interface.
- Open Control Panel on your PC.
- Find Network and Sharing Center.
- Choose Change adapter settings.
- Right-click on unidentified network connection, choose Properties.
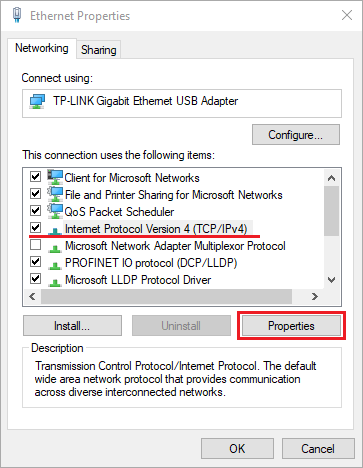
- In Ethernet Properties find Internet Protocol Version 4 (TCP/IPv4) and click Properties.
- In General tab, choose Use the following IP address and set:
- IP address to (for example) 192.168.100.181
- Subnet mask to 255.255.255.0
- Click OK and Close. Now you should be able to connect with the Wenglor scanner. You can verify this using your web browser.
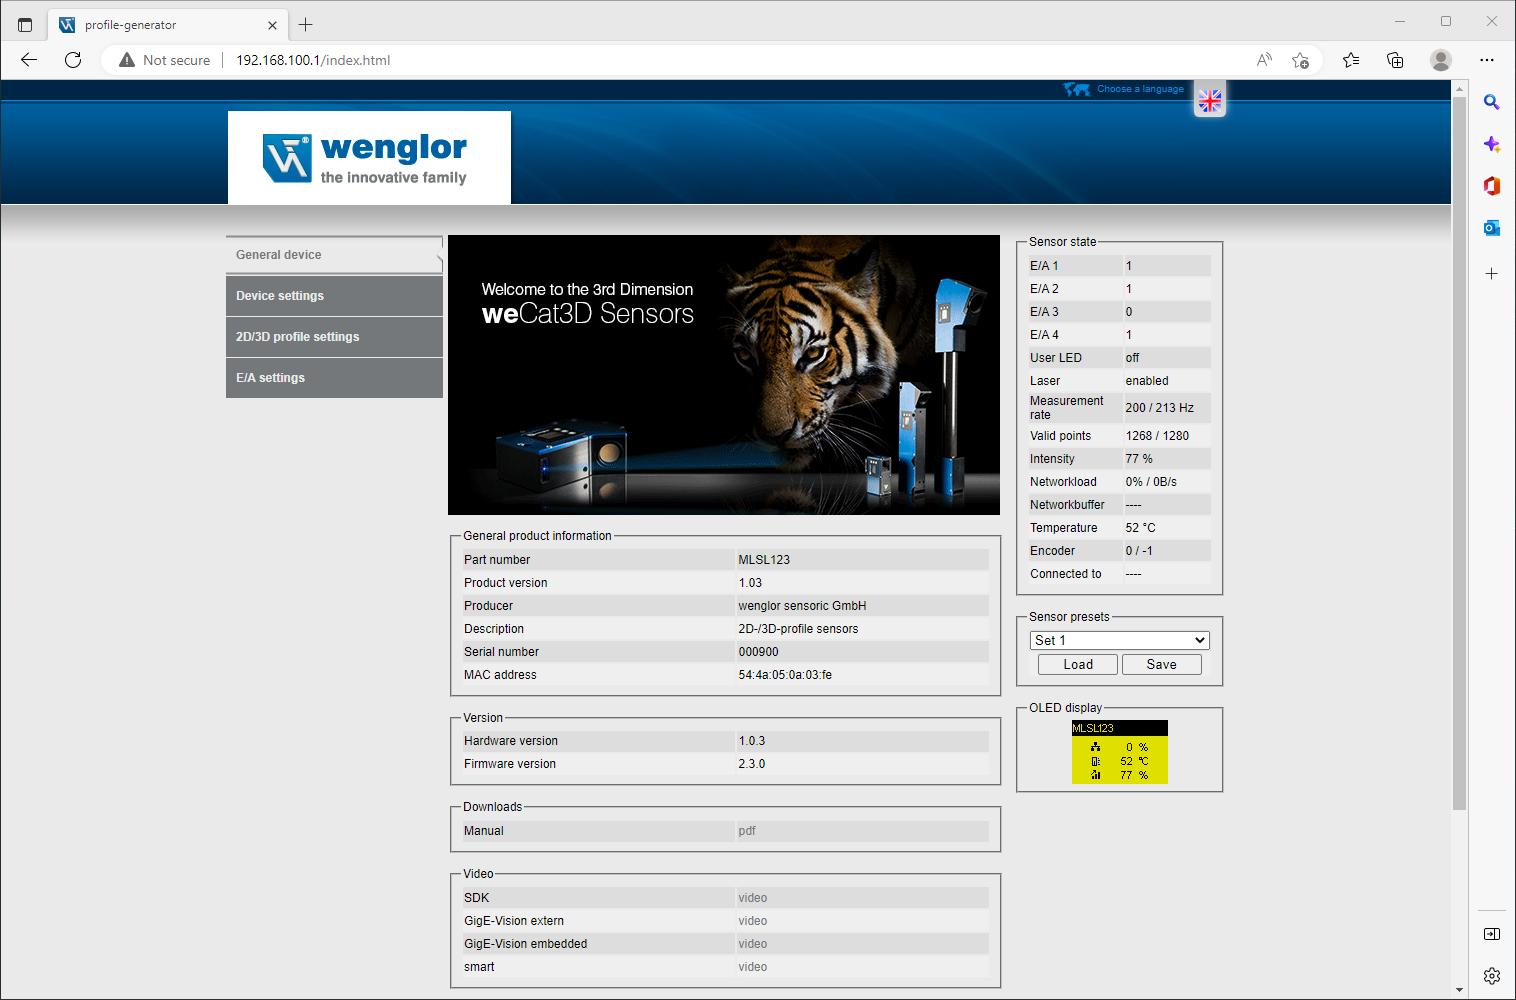
- In a search tab, type 192.168.100.1 and click Enter.
- You should see this user interface:
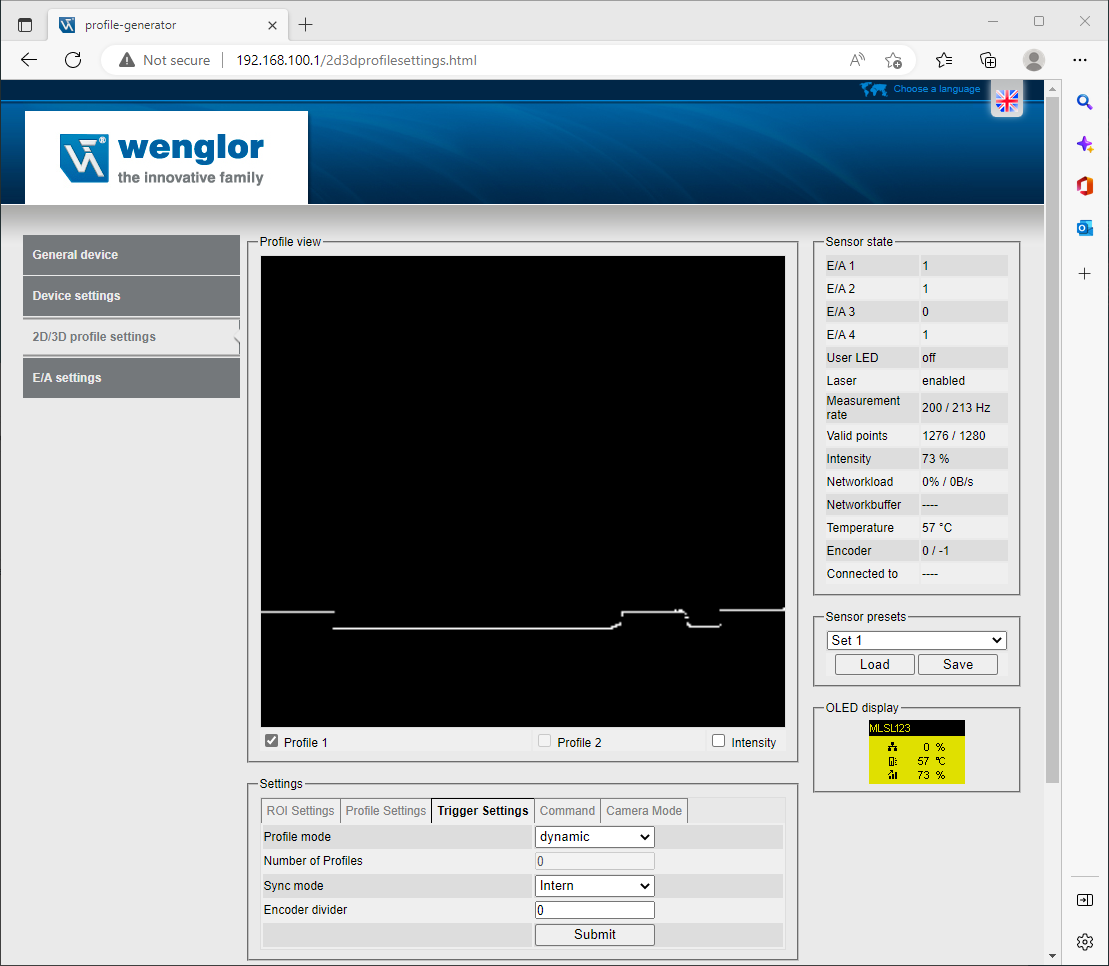
- The provided browser-based user interface allows you to configure the parameters of the Wenglor sensor. You can navigate to the 2D/3D profile settings tab to check if profile is acquired with Intern Sync mode:
Setting up Wenglor weCat3D server
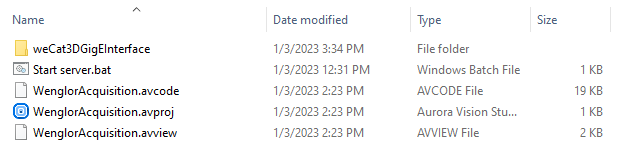
If you download Wenglor server archive, there should be a folder named "weCat3DGigEInterface". Copy it to the folder with Aurora Vision Studio project:
If you run Wenglor server executable, console application will be shown:
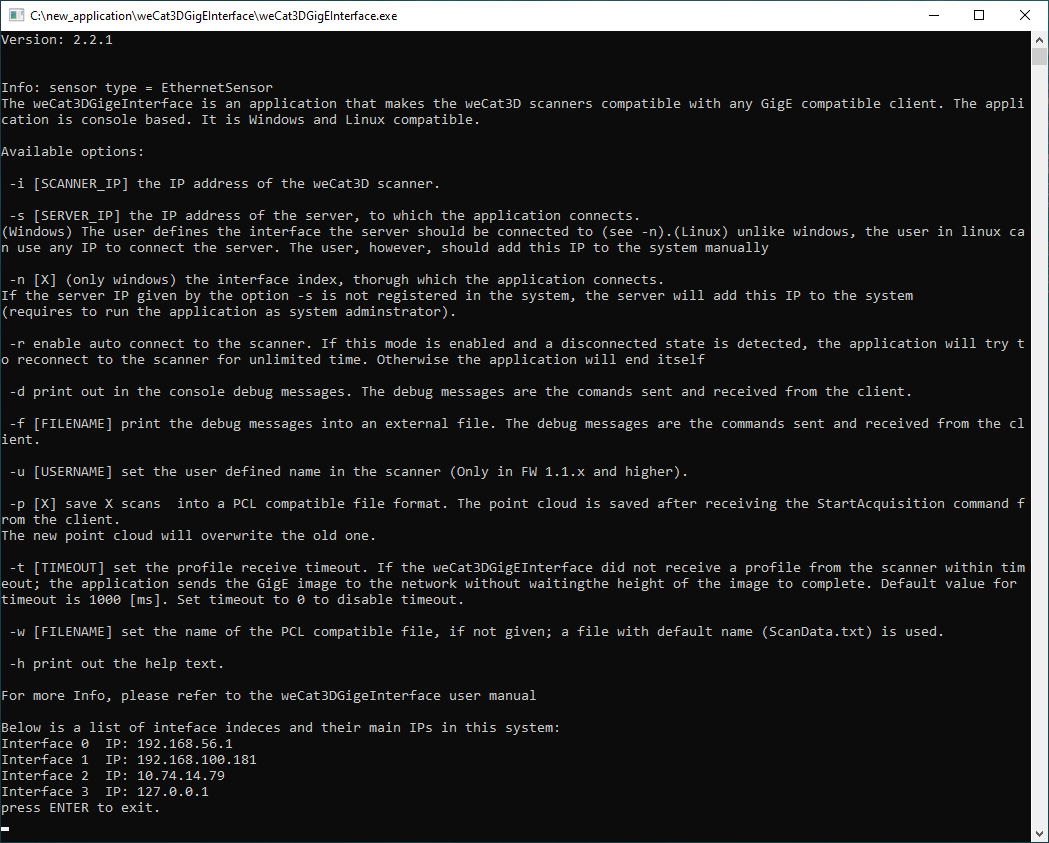
This console application should be run with appropriate arguments described in Wenglor server documentation. You can create file with bat extension with the following syntax:
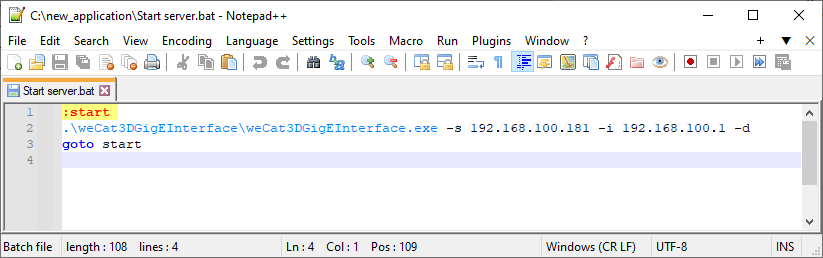
Using bat file extension is not obligatory and you can start server with appropriate arguments by Command prompt. You can start server with Execute_StartOnly filter - it is described in the next chapter.
Setting up Wenglor weCat3D scanner with Aurora Vision Studio
In order to combine Wenglor server with Aurora Vision Studio, please refer to Wenglor - GigE Server 2.0 Connection official example.
Before you start this application, it is necessary to place "weCat3DGigEInterface" folder inside application folder. If everything is set up correctly, you should be able to acquire profiles with Internal mode:
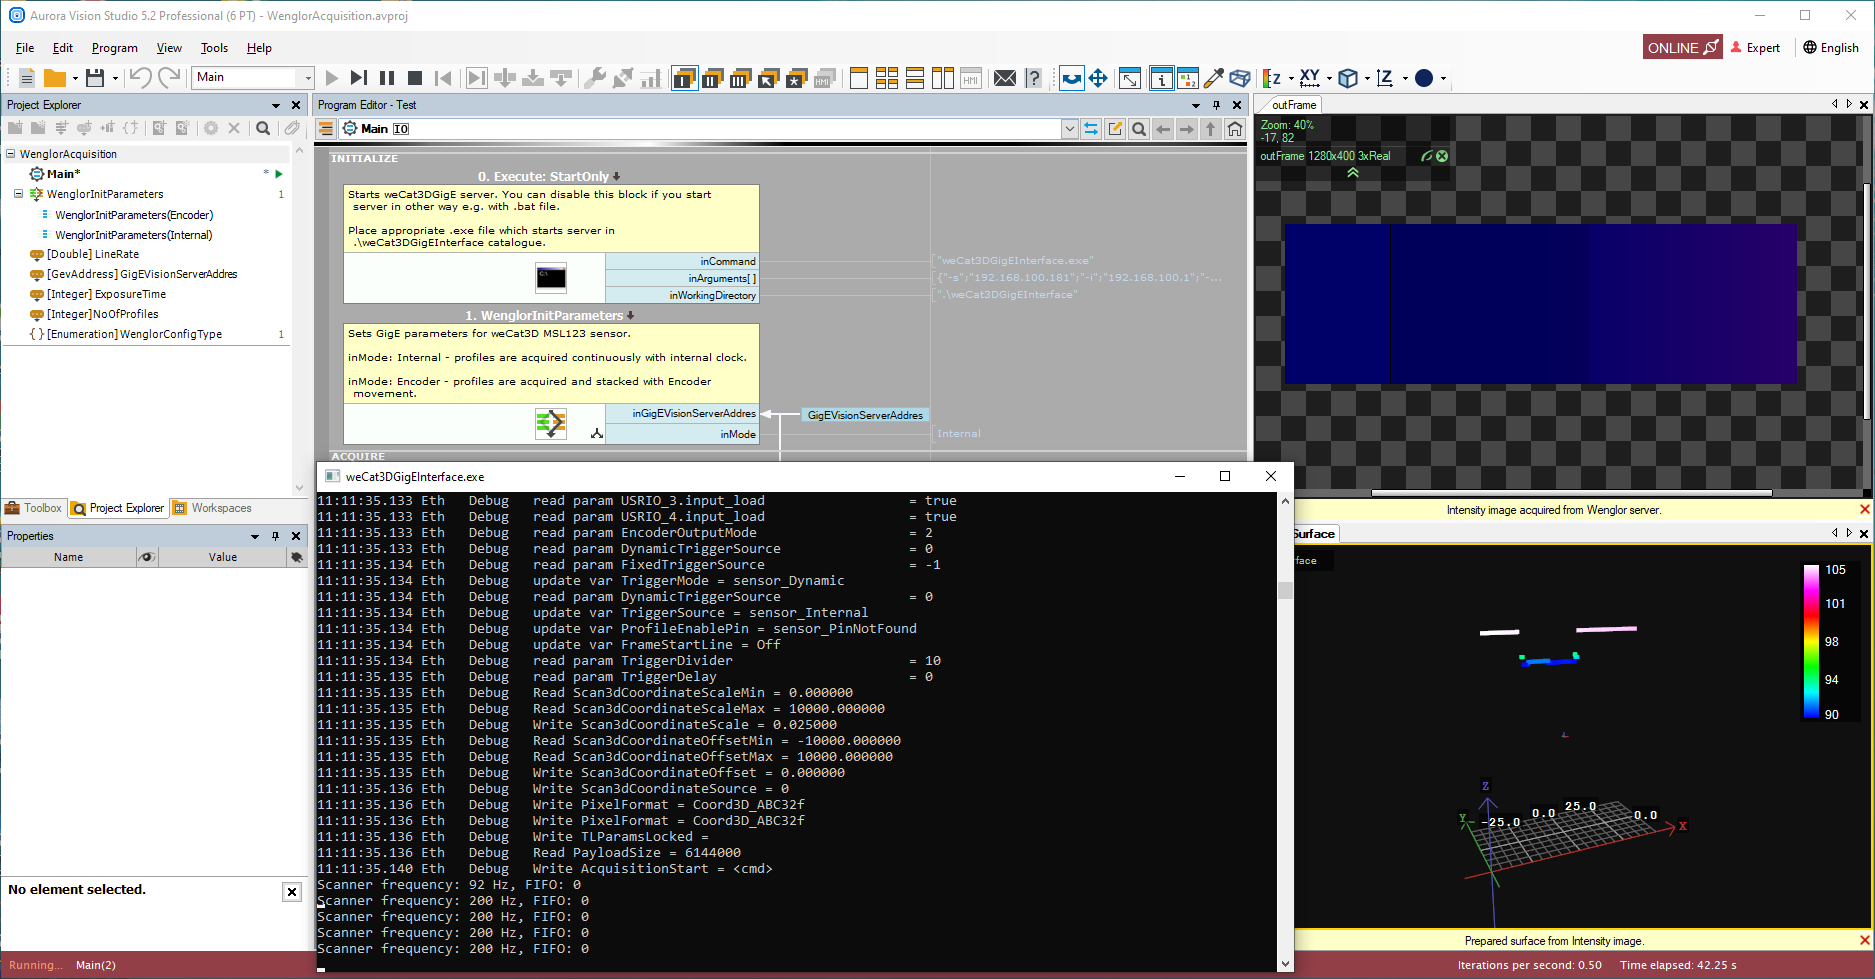
In INITIALIZE section Execute_StartOnly filter starts Wenglor WeCat3D server. Then WenglorInitParameters macrofilter sets appropriate parameters with GigEVision_SetParameter filters:

For more details about parameters initiation with Wenglor, please refer to the official example inside Aurora Vision Studio and to the manual attached to the downloaded WeCat3D Server.
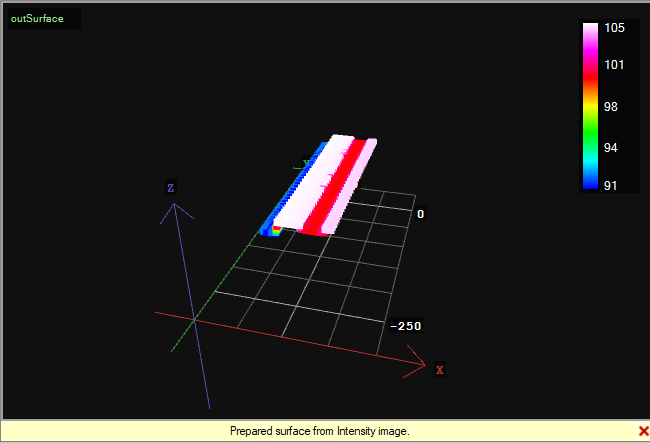
If you change inMode from Internal to Encoder, you will be able to acquire whole surface from profiles acquired with encoder trigger source: